Zero to Hero: Easy Rapid Unity Flight Sim Visuals Upgrade
Transform your Unity flight simulator from zero to hero in this step-by-step tutorial. Learn how to quickly enhance visuals with ground materials, starry skies, and stunning post-processing effects. My discord link ► https://discord.gg/DgUdNDT7KU ► Download Unity at https://unity.com Chapters: 00:
A flat-grey prototype can start looking like a finished space game in under an hour. This guide walks through the exact steps from the video: custom materials, a visible flight boundary, animated jet exhaust, a particle starfield, and two post-processing effects that tie it all together. Everything here uses Unity's Universal Render Pipeline (URP) and requires no custom shaders.
Step 1 — Build a small set of reusable materials
Start by creating three simple source graphics: a grid-line texture, a multi-color gradient strip, and a soft white-to-transparent gradient for the flight boundary. From those, create three URP materials: a grid material for the player ship, an emissive gradient material for the jet blast, and a transparent fade material for the flight area. Keeping these as separate materials means you can re-tint or swap any of them later without touching geometry.
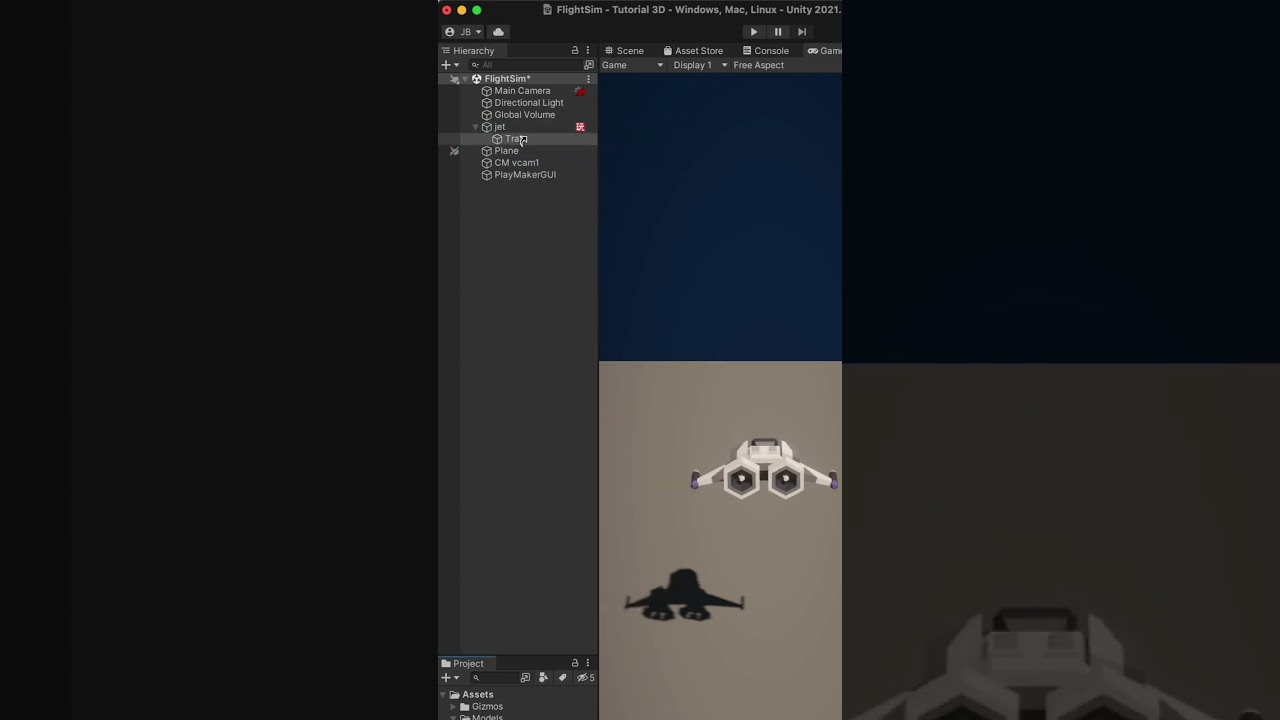
Step 2 — Make the flight boundary visible
The playable volume in this project is a 20 × 20 × 20 unit cube. Build it with ProBuilder rather than a standard 3D cube — the reason is that ProBuilder lets you flip the normals in one click, so the walls render from the inside instead of the outside. Apply the transparent gradient material and the player now gets a subtle, readable cue of where the play space ends, with the edges fading off rather than presenting a hard wall.
Step 3 — Animate the jet blast
For engine exhaust, add ProBuilder cones to the back of each engine and apply the emissive gradient material. The trick that sells the effect is animating the material's texture offset: create an animation clip with a start and end keyframe on the Y offset value, and the gradient appears to continuously stream out of the engine. It reads as motion at almost zero performance cost — no particle system needed for this part.
Step 4 — Add a starfield with a single particle system
Create a particle system with a sphere emitter and increase the radius thickness so stars spawn in a shell around the play area rather than filling it. Give particles a long lifetime (30–60 seconds), vary size between 0.1 and 1, vary color from white to pink, and enable blinking for a twinkle effect. Turn on prewarm so the sky is already full of stars on the first frame instead of slowly populating.
Step 5 — Finish with post-processing
Two effects on the global volume complete the look. Lens Distortion pushed in the negative direction adds depth and a subtle fish-eye curvature that suits space scenes. Chromatic Aberration splits the red, green, and blue channels toward the screen edges — keep the intensity low, since a little goes a long way. Together they make the same geometry feel dramatically more polished.
Total time investment is small: a few materials, one ProBuilder cube, one animated offset, one particle system, and two volume overrides. That is the entire upgrade.