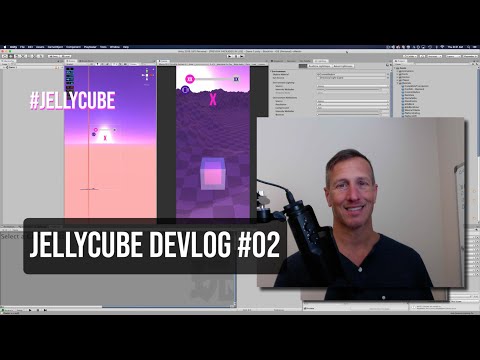
Devlog 01 - JellyCube - New Game setting up Haptic Feedback
I am creating a new mobile action puzzle game. I am using Unity with Playmaker as the visual scripting tool. In this devlog I’ll show how I am setting up haptic feedback and being able to turn it all on or all off. #playmaker #unity3D #nicevibrations #jellycube #blocktris #indiegame #gamedesign #
This update covers Block Trous — working title, also going by Jelly Cube — an action puzzle game where you swipe to move a cube character through generated levels. The focus of this session is haptic feedback: how it's implemented in Playmaker, and more interestingly, how it's architected so the player can switch it off.
The plugin Haptics come from Nice Vibrations, a Unity plugin that exposes a set of predefined feedback types rather than raw motor control — light impact, medium impact, heavy impact, failure, success, selection, warning, and others. Working from a vocabulary of named feedback types instead of arbitrary vibration values keeps the feel consistent and makes each call self-documenting.
Wrapping it for Playmaker Since the project uses Playmaker as its visual scripting tool, custom actions were written to wrap the Nice Vibrations calls. That's the bridge: once the plugin's functions exist as Playmaker actions, haptics become available anywhere in the FSM graph without dropping into code.
The central manager — the important decision The design choice worth studying is centralization. Rather than sprinkling haptic calls throughout every FSM that might need one — player movement, button clicks, level events — all of it lives in a single Haptic Feedback Manager FSM. That FSM has a start state that waits, plus one state per impact type, each containing the corresponding Nice Vibrations call. Other FSMs trigger haptics by sending events to this manager.
Why centralize The payoff is the on/off switch. Because every haptic call routes through one FSM, disabling haptics means disabling that single FSM. Had the calls been scattered across a dozen FSMs, adding a global toggle would mean adding a conditional check at every call site — and remembering to add it at every future call site too. One manager, one switch.
The settings UI A menu system is being built out, currently holding just one control: a haptic feedback button showing a phone icon with squiggly lines. It's the first item in what will become a broader settings menu.
The toggle logic The manager FSM handling the button listens for a click on the haptic button. On click it tests a bool to determine the current state. If haptics are off, it moves to the haptic-feedback-on branch, which does several things in sequence: activates the "on" button graphic, deactivates the "off" graphic, sets the bool accordingly, and enables the Haptic Feedback Manager FSM. The off branch does exactly the inverse. Handling the visual state and the functional state in the same branch keeps the button graphic and the actual setting from drifting out of sync.
Seeing it work In play mode the vibration itself obviously doesn't come through on video, but the state is visible: the Haptic Feedback Manager FSM turns green when enabled and deactivates when switched off. With it on, moving the character fires a light impact and completing a level fires a success event, each visible as the manager FSM jumps to the corresponding state.
The general lesson applies well beyond haptics — any cross-cutting effect a player might want to disable, including audio and screen shake, benefits from the same single-manager treatment.