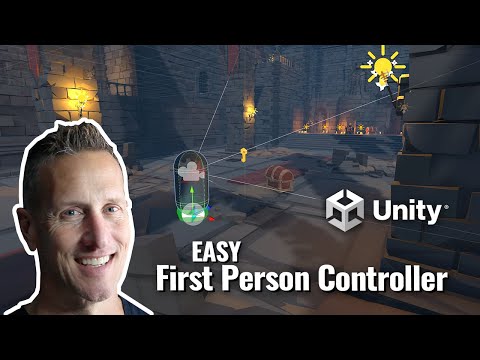
Easy - First Person Player Movement using Unity with Playmaker - Beginner Game Dev Tutorial #Shorts
Super Easy FREE tutorial on First Person Movement using Unity 3D and Playmaker for beginning game devs. Also check out How to Make a Bounce Game Series https://bit.ly/39HIYBU. ► Download Playmaker at https://bit.ly/3dV8JzC ► Download Unity at https://unity.com 🚀 Download Trixel Rocket for free o
A complete first person controller in Unity built with PlayMaker and no code, split across three FSMs. Splitting it up is the important part: movement, jumping, and looking around are separate concerns, and keeping them in separate state machines means you can debug or replace any one of them without breaking the others.
Set up the player hierarchy
Start with an empty GameObject to act as the player. Inside it live two things: the camera, and a player capsule. The capsule is there mainly so you can see the player in the scene view while you're building, which makes it much easier to tell whether your movement values are doing what you think they're doing.
On the player itself, add a Rigidbody and a Capsule Collider. The Rigidbody is what makes the velocity based approach below possible, and the collider is what keeps you from walking through the world. The three FSMs also go on the player.
FSM one: movement
The Move FSM reads input and turns it into velocity. Add Get Axis for the horizontal axis and store the result in a variable called x move. Add a second Get Axis for the vertical axis and store that as z move.
Then Set Velocity on the player using those two values, x move driving the X axis and z move driving Z. Because you're setting velocity on a Rigidbody rather than translating a transform, the movement stays inside the physics system and collisions behave correctly.
FSM two: jumping
The Jump FSM starts in a detect jump state using Get Key Down watching for the spacebar. Nothing happens until the player actually presses it.
When the spacebar is pressed, Set Velocity on the character in the Y axis. That single upward push is the jump. From there the FSM does a raycast to check whether the player has hit the ground, and once the ground is detected it transitions back to the detect jump state, ready for the next press.
That ground raycast is what stops infinite jumping. Without it, the FSM would return to listening immediately and the player could hold the spacebar and fly. The check is a small addition that turns a broken jump into a real one.
FSM three: mouse look
The third FSM handles looking around. It detects the mouse Y and mouse X movement each frame and applies it to the camera and player rotation.
Two sets of values matter here. Sensitivity controls how far the view turns per unit of mouse movement, and you'll want to tune this by feel rather than by number. The minimum and maximum Y values clamp how far up and down you can look, which stops the camera from rolling over backwards when the player drags the mouse too far.
Putting it together
With all three running you have a working first person controller: WASD or the arrow keys move you, the mouse looks around, and the spacebar jumps once per landing. No scripts involved.
If something feels wrong, the split makes diagnosis fast. Movement feels floaty, look at the Move FSM velocity. Jump repeats forever, check the ground raycast in the Jump FSM. View spins too fast, adjust sensitivity in the mouse look FSM. Each problem has exactly one place to look.
Related Tutorials

Beginner VERY EASY First Person Controller with Playmaker in Unity 3D

Unity Playmaker Adding Walking Sound to First Person Player

Unity 3D + Playmaker - EASY Mech First Person Shooter

Set up a Simple Reticle for First Person Controller in Unity

Unity Playmaker - First Person - Hide Mouse Cursor