Set up a Simple Reticle for First Person Controller in Unity
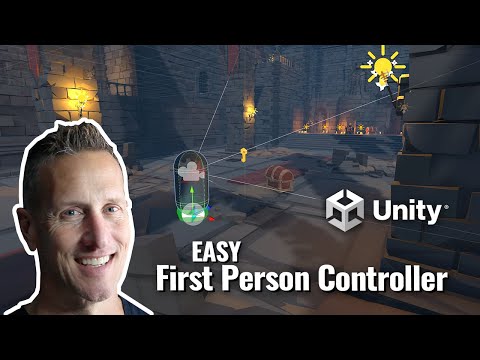
In this Unity tutorial, I'll show how set up a simple reticle for your First Person Controller in Unity. ► Unity First Person Controller - https://assetstore.unity.com/packages/essentials/starter-assets-first-person-character-controller-196525?aid=1101lfDIN ► Art Assets - Synty - POLYGON Dungeon -
A first-person interaction system without a reticle leaves the player guessing where their raycast is pointing. This guide adds a small centered UI dot that marks exactly where interactions will land, and sets up the canvas properly so it scales to any screen size. It builds directly on the first-person interaction setup from the previous tutorial.
Step 1 - Create the canvas and image
Add a UI Image to the scene. Unity automatically wraps it in a Canvas; select that canvas and rename it something meaningful like UI - Player Interact so it is obvious this UI belongs to the player interaction system. The image inside it will become the reticle itself.
Step 2 - Configure the Canvas Scaler
Before touching the image, get the canvas sized correctly. On the Canvas Scaler component, switch the mode from Constant Pixel Size to Scale With Screen Size so the UI accommodates all kinds of different screens. The reference resolution defaults to 800 by 600; since this is set up as a desktop or console style game, change it to 1920 by 1080 - you will see the white image shrink as the reference grows. Finally set Screen Match Mode to Expand, so if someone plays on a really big monitor the canvas stretches to accommodate it.
Step 3 - Size and style the reticle
A new UI Image lands dead center of the screen, which happens to be exactly where the centered interaction raycast fires from - so its position is already correct and you should leave it there. Shrink it to about 10 pixels by 10 pixels. From there you can add a sprite if you want a proper crosshair or some other custom element, but a plain square works fine. Give it a color that reads against your scene - a nice yellow or a red-orange both work - and keep it subtle enough that it is not intrusive during play.
Step 4 - Test the interaction
Press Play. The dot now marks the center of the screen, which is precisely where the raycast fires. Click on empty space and nothing happens; walk over, line the dot up on the chest, click, and the interaction triggers. That tiny image closes the feedback loop: the player always knows exactly which object they are about to interact with, which is the difference between an interaction system that feels precise and one that feels random.
Related Tutorials

Beginner VERY EASY First Person Controller with Playmaker in Unity 3D
Unity - FREE Starter Asset - First Person Controller

Unity 3D + Playmaker - EASY Mech First Person Shooter

Unity Playmaker - First Person - Hide Mouse Cursor

Unity Playmaker Adding Walking Sound to First Person Player
