Unity Playmaker - 3rd Person Controller and New Input System
In this Unity Playmaker tutorial, I'll be showing how to setup the 3rd person player and using the Unity new input system, creating a 3rd person movement and a free look camera using Cinemachine. We will be able to use both keyboard mouse and any game controller. This is super easy. (I'll be cover
This tutorial sets up a full third-person character in Unity: movement and camera look driven by the new Input System, a Character Controller for collision, and Cinemachine for an orbiting free-look camera — with the movement logic handled in Playmaker. It's a solid template for any over-the-shoulder game.
Configure the new Input System
Install the Input System from Package Manager (it requires an editor restart). Create an Input Actions asset named player and open it. Add a Player action map, add a Move action, and set its action type to Value with a Control Type of Vector 2 so analog sticks and keys all feed one vector. This asset centralizes every binding for the character.
Bind keys and a controller
Under Move, add a Up/Down/Left/Right composite named arrow keys and bind each direction by using Listen and pressing the key. Add a second composite, WASD, bound the same way — the tutorial recommends always providing both arrow keys and WASD to support left- and right-handed players. Add one more binding for a gamepad's left stick. With auto-save on, changes persist automatically.
Assemble the player object
Create an empty named player, copy the world position from your existing model and paste it onto the player so they align, then parent the model inside. Add a Character Controller (its collider is built in) and fit it to the model: height around 1.7, radius around 0.2, and a Y offset (around 0.88) so the capsule's base sits at the feet.
Set up the Cinemachine free-look camera
Install Cinemachine, then right-click to add a Cinemachine FreeLook camera so you can orbit the character without moving it. Because this uses the new Input System, click Add Input Provider to avoid an error. Set Follow and Look At to the player, invert the Y axis (and uncheck invert X), and tune the three rigs — top about 3m high / radius 3, middle 2 / radius 4, bottom 0.7 / radius 3. Raise the Aim Y to about 1 and rotate the X-axis value so the camera sits behind the player. Add a Cinemachine Collider extension so the camera can't clip through terrain.
Move and turn the player in Playmaker
Add an FSM with a Player Move state. Use Player Input Get Move Vector, accept the prompt to add the input component, assign the player action map and the Player Move action, and store the result in a move variable. Add Controller Simple Move below it (it uses the Character Controller), feed in move, set speed around 5, and choose World space. To make the character face where it travels, add Smooth Look At Direction using move with the up vector set to 1 (rotating around Y). Finally set the Get Move Vector's Relative To option to the main camera, so movement follows the camera's facing — left stick walks, right stick looks.
Related Tutorials

Unity 3rd Person - Particle System - Making Magic Particles
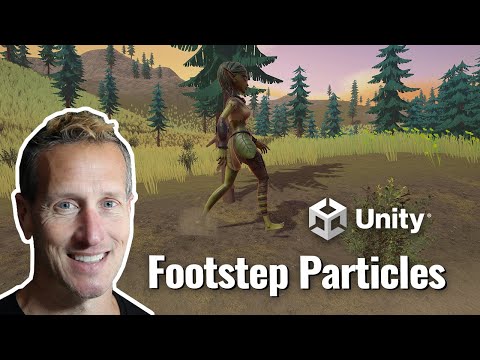
Unity Playmaker - 3rd Person Adding Particle System to Walk
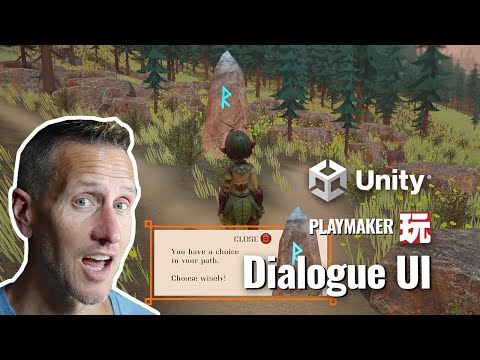
Unity Playmaker - 3rd Person UI Dialogue Box for the Game

Unity Playmaker - 3rd Person - Enemy AI - Field of View

Unity Playmaker 3rd Person Arena Game- Pattern Randomization
